Two weeks ago, I did a post on
How to Make DIY Bernie T-shirts. I finally got around to trying it out for myself.
Step 1: Buy Your Supplies
My thrift store shopping turned out pretty well. I found three shirts in the colors I wanted for $1 each (one a size larger than I usually wear). Way better than buying a pack of mixed t-shirts at a clothing store. And if I messed them up, I wouldn't feel too bad about it.
While I specifically looked for blank shirts, don't be afraid to experiment. I found a number of shirts with "America" on them. You could easily paint "vote for Bernie" underneath. I also found a few pink ribbon shirts you could pain "women for Bernie" on. Grab a "Harley" shirt and make it "Harley for Bernie." Be creative!
After some consideration, I also decided to buy
freezer paper for the sake of simplicity (you will find it with the aluminium foil). This was the only thing I could not find cheap. It cost $6 (no luck at finding it at the dollar store). So all together, I spent $9.16 and some taxes. I didn't spend anything on actual painting supplies since I decided to use what I already had on hand.
Step 2: Conceptualize
I first did some thinking on what kind of designs I wanted to make. Then I thought of which colors those designs would go well on. I laid the shirts out with a piece of printer paper and imagined what size I wanted the designs to be (one sheet of paper or two? Landscape or portrait?). This helped
a lot when it came to figuring out how large I needed the designs and font to be when I built them in MS Word, and I highly recommend doing it. You can also use
this online program for some help visualizing.
Step 3: Build Your Designs
Build your designs in MS Word or any similar program so you can print them out to serve as a stencil for painting. I'll explain this step a little more with each individual shirt, and I'll give you resources to look through at the end. One thing I will point out is I took the margins off of the documents to get the font and images the size I wanted them to be. My printer, however, is not one that prints off the margins, so I had to color in some areas on the stencils that my printer didn't get with sharpie marker. No big deal, but something to be aware of.
You can skip this step and the next few all together if you decide not use a stencil. But I highly recommend using a stencil. It's a lot of work, but it made the printing step a lot easier.
Sept 4: Prepare the Freezer Paper
The roll of freezer paper I bought was 331/2 yards by 18 inches, which means I had to cut it down to the proper size. You could use a ruler to do this, but I ended up taking a piece of printer paper and just tracing it. It all depends on whether you want to attempt printing on the freezer paper and how finicky you feel your printer is. My printer took my imperfectly traced sheets just fine, but yours might not.
If you decide not to attempt printing on the freezer paper, you'll need to print your designs on regular paper. Then lay the freezer paper over top (it's translucent) and trace the design. Alternatively, there are
freezer paper printer sheets online to purchase, but they're expensive compared to buying the roll. And if you have a very temperamental printer, the paper might be too thin to work properly for you anyway.
If you want, you can omit the freezer paper from your t-shirt making all together and just use normal printer paper. But the fact the fact the freezer paper sticks to the shirt fabric and prevents your design from shifting is useful.
Once you have your designs on paper, cut out your designs with an x-acto or utility knife. Make sure to save any small "scraps" from the inside of letters or designs. You'll want them for the ironing step. If you'd rather avoid having little pieces to deal with, you can download
stencil font to use.
Step 5: Prepare the Shirts
Once you have your design ready, you'll want to iron your shirt flat. Then place the freezer paper on top of the shirt (wax side down) and iron it till it sticks. Then place cardboard or another surface inside the shirt to prevent paint from bleeding through to the other side.
Step 6: Paint
Bleach - Ask Me About Bernie sanders
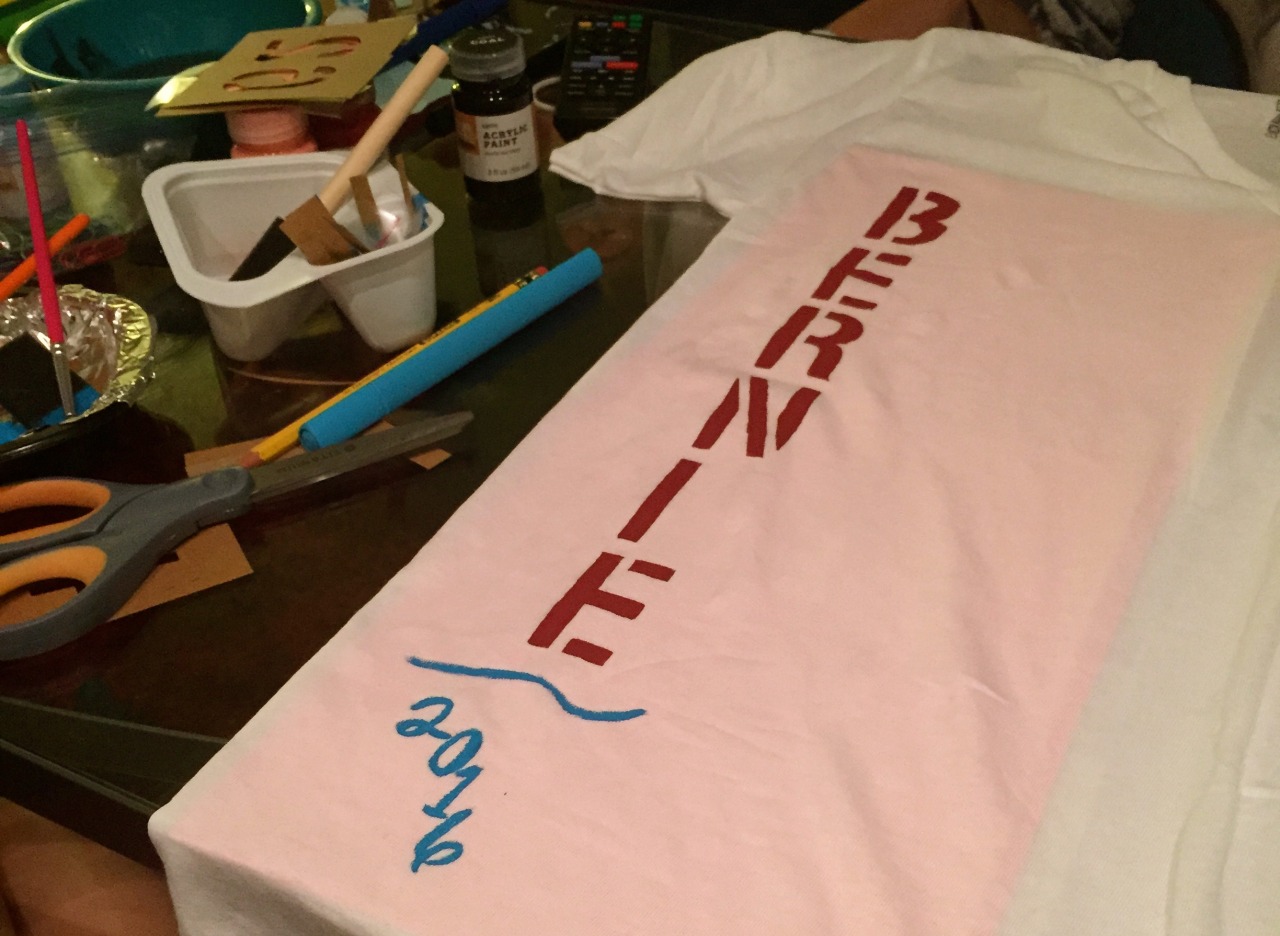
I've been wanting an "Ask Me About Bernie Sanders" shirt since I found out about the campaign. I could have easily painted this by hand, but I wanted a specific look. So I put some text in a Word doc, blew it up as big as I wanted, and printed it out.
Pour a small amount of bleach into a container and use a paint brush to paint on the bleach. Be careful not to drip and you'll probably want a fan going to get some air circulation from the fumes. Over time, the bleached areas will get lighter and lighter. So let the design sit for a while. I moved on to cutting out another stencil while giving the bleach time to work and letting the shirt dry.
One thing about this method that I didn't expect is the bleach ate my paint brushes. I had a 4 set of the cheap Crayola brushes, and they are now useless. Not a big deal and probably should have been expected, but none of the tutorials I looked at mentioned this happening. Maybe I just needed better quality brushes. I also could try diluting the bleach, but none of the tutorials I found mentioned this either, and at least one specifically said not to.
I'm not sure what happened here. Presumably, I used too much bleach. But I really didn't feel like I used that much. I believe what may have happened is the bleach ate through the wax. That's the only thing that makes sense to me. When doing the back of the shirt, I used a q-tip (which did not dissolve like my paint brushes) to paint on the bleach. So I know I ended up using less bleach there, but I still ended up with the same results. So if you plan on doing a bleached design, hand painting it might be best.
But all is not lost. There is more than one way to paint a shirt. Hello, Sharpie.
Spray Paint - Bernie Hair and Glasses
I'm a fan of
this shirt design. It's just awesome. And if you look around there are several different variants of it, so I felt free to do my own. I eventually settled on
this style hair and glasses. I cropped the image, and then put it into this
online editor. I used the "negative" affect to get the white hair and glasses to turn black. This also turned the blue areas orange, and I used the bucket in the sidebar to color these areas white. Then I cleaned the rest up in MS Paint.
I put extra freezer paper around the design for extra protection from the spay paint.
Find a well ventilated area (I went out to the garage and opened the door). Place extra paper to cover the shirt and protect from paint. I discovered while painting that it's easier if the shirt is vertical, rather than lying down. So what I should have done was propped it up against the wall and instead of newspaper, I should have used larger freezer paper sheets where I could just iron an inch or so onto the shirt and then left the rest hanging over to make a barrier. Or I could have just taped the newspaper down with masking tape or something. With what I did here, paint got under the lose paper.

This was a little discouraging to see. I have paint splatter all around where I didn't have the freezer paper ironed. And my design got way over saturated, which was completely my fault. But I had never painted fabric with spray paint before. When I sprayed the paint, the shirt still looked green. So I ended up spraying several coats of paint when I really only needed somewhere between two or three. Once the shirt dried, I decided to forgo the spray paint and use acrylic to paint the back.
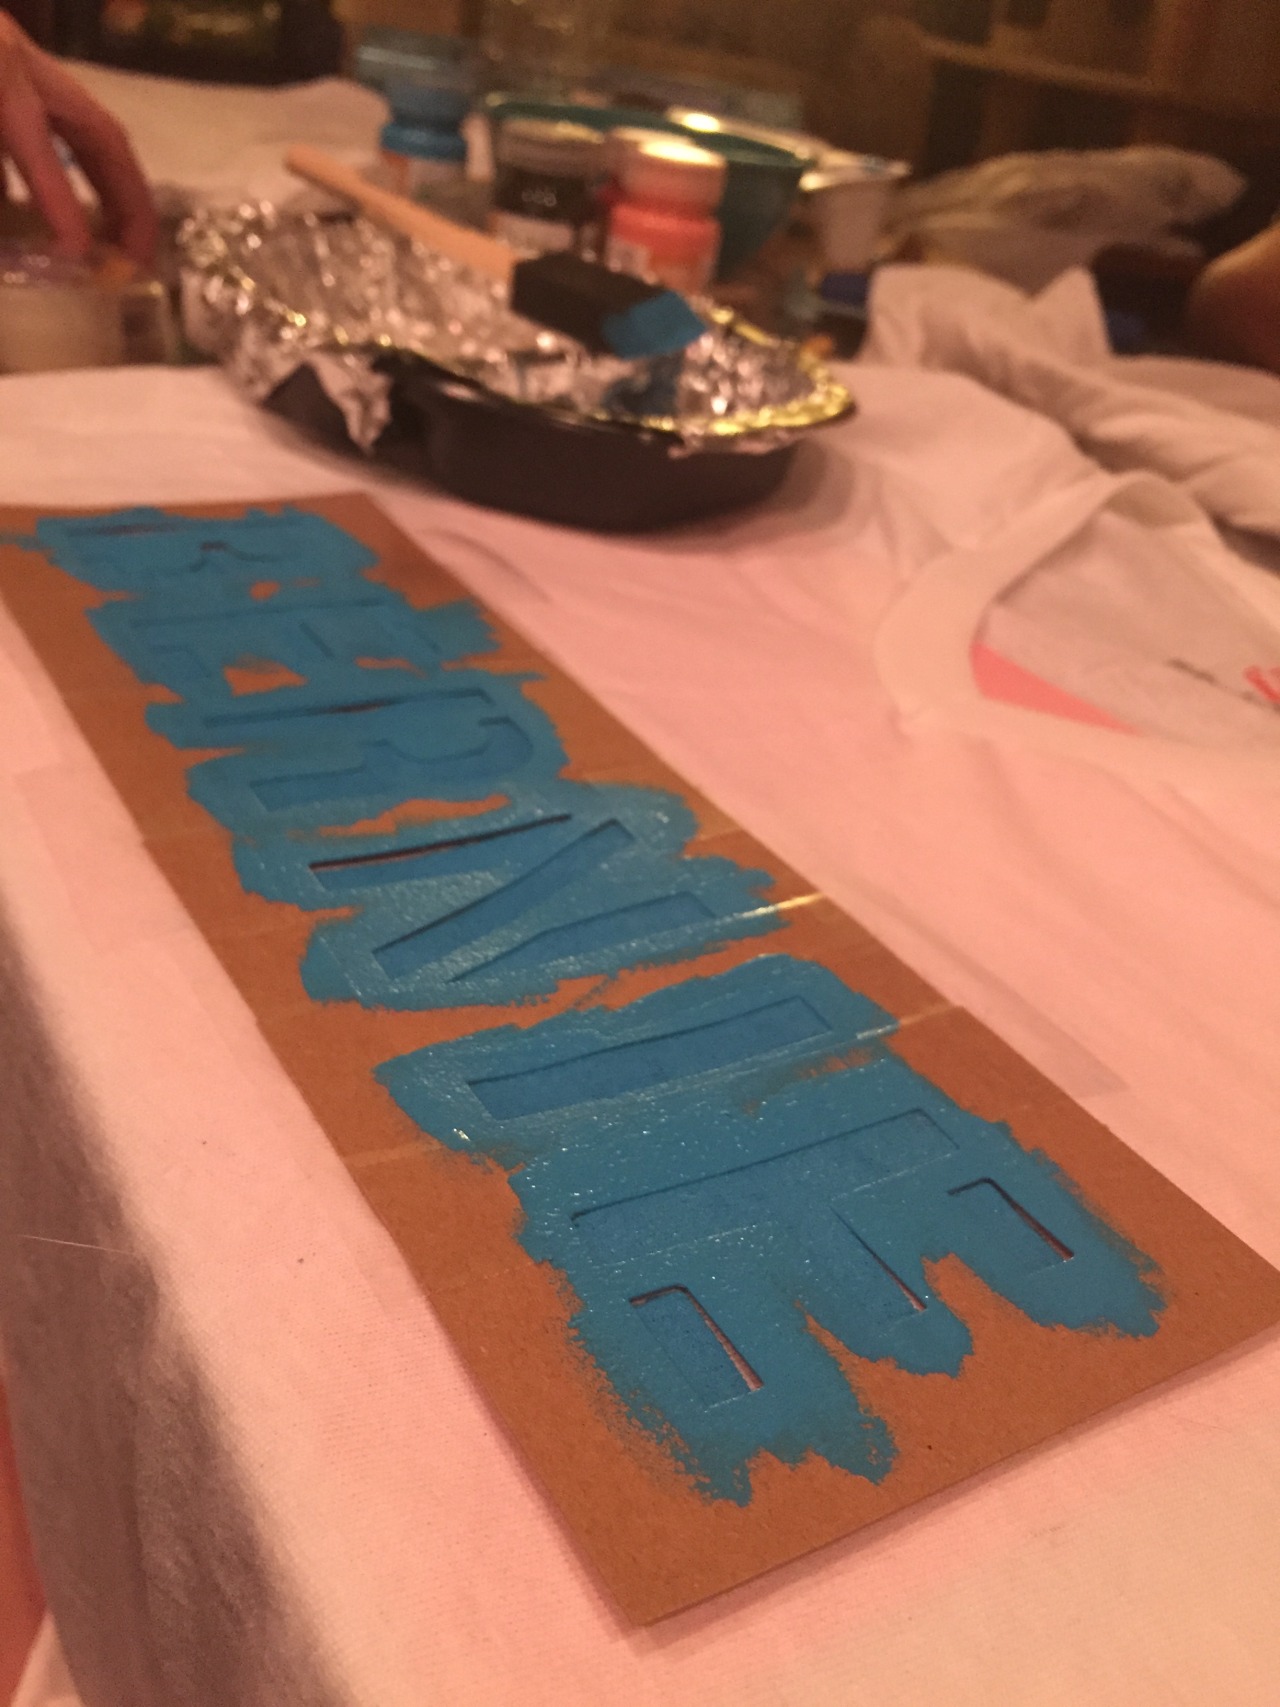
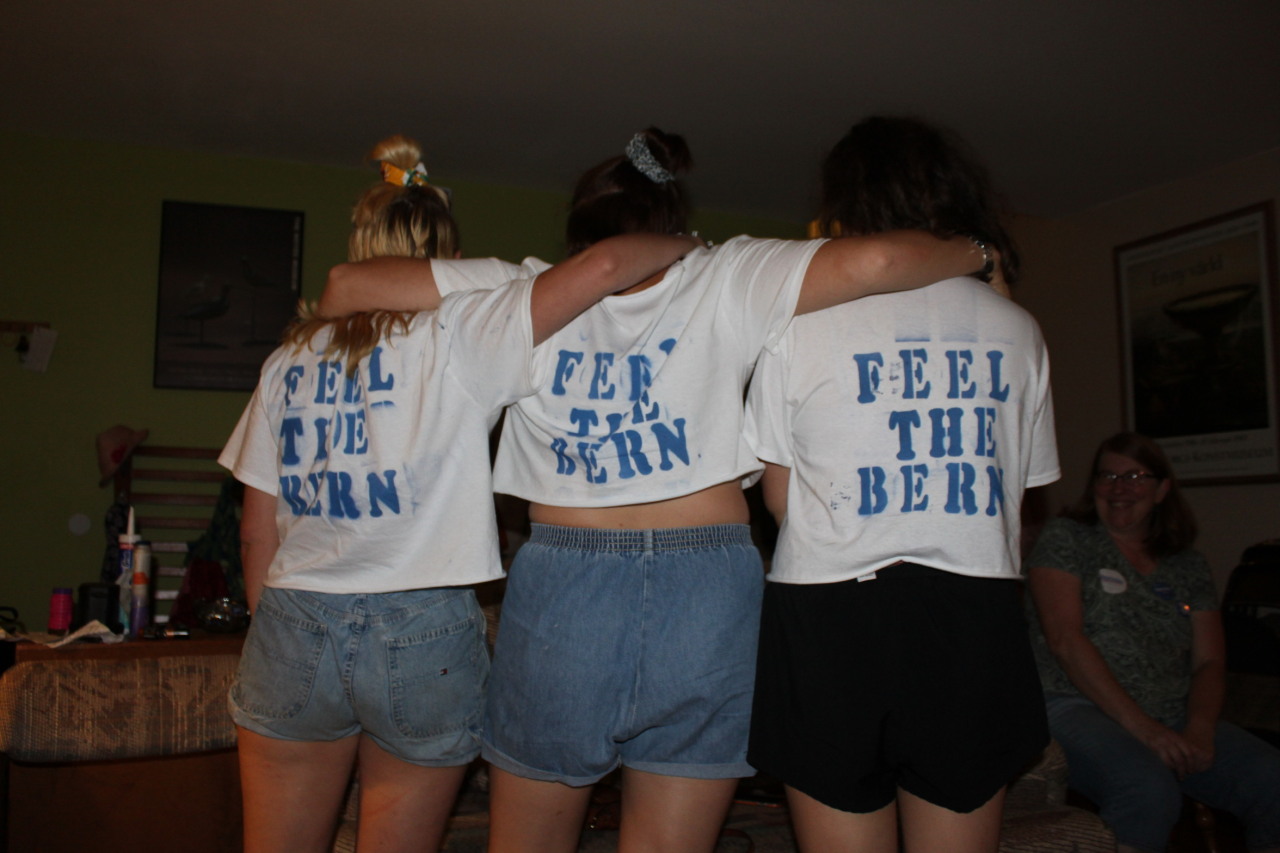
Acrylic Paint - Feel the Bern
I did some research, and there's mixed feelings over weather or not acrylic paint is okay to use on fabric. (Even more confusing is my bottle of acrylic paint says it "sticks permanently" to surfaces like fabric and wood but that it also "washes out with hot water and soap." Huh?) Acrylic paint isn't much different from fabric paint in terms of composition, but it's thicker than fabric paint. This means it tends to sit on top of the fabric rather than soaking into the fibers, resulting in a stiff design that can crack.
There are different texture mediums that can be used to convert acrylic paint to fabric paint (the most recommended one I found was
Golden GAC 900) but that stuff is expensive. I also found
a post suggesting the use of glycerol or
Liquitex Acrylic Medium as a cheaper alternative.
Honestly, I found all these different mediums confusing. And I found someone online who suggested just adding water to acrylic paint (no more than 10%) to thin it out. So that's what I did. I squirted some paint onto a paper plate and added a few drops of water to it till was thin (no specific measuring) and painted it on.
Step 7: Heat Set & Wash
You should heat set your designs after they have dried and before washing them (with the exception of bleached). This will help the design hold to the shirt and make it less likely to wash out. To heat set, lay a cloth over your design (I just used a piece of paper) and iron it for 3 to 5 mins. Then you are all set. Always wash in cold water.
Bleach
No heat setting required! Once the bleach has dried or it's set in to where you want it, rinse the shirt in cold water, then let it air dry. After that you can wash it normally. When I rinsed out the front of my shirt and let it dry for the first time, it felt stiff. I was worried that this may be an effect of the bleach somehow, so I washed it by itself, then hung it again to dry in the air. It felt normal again.
Sharpie
This design gets a little smelly when you heat set it. And I ended up with brown around the edges of the letters (I suppose from the Sharpie bleeding a bit), but one round through the wash and the brown came out.
Spray Paint
Since I ended up with so much paint on this shirt, I washed it once by itself with some stain release without heat setting. A lot of the stiffness came out of the shirt along with most of pain splatter. Yay! This design was particularly horrible to heat set. So smelly! I had to open all the windows in the room.
Acrylic Paint
I had no issues with heat setting this, smell or otherwise. Like with the spray paint, a lot of the stiffness came out of the shirt after washing.
Washing
Once I was done heat setting all of the shirts, I washed them together because I wanted to make sure nothing would bleed onto other clothing. I turned the spray and acrylic paint designs inside out for extra security. Always wash painted shirts in cold water.
Final Verdict
I got to do some fun crafting in an area I had never tried before, and I got some cool shirts out of it.
Bleach & Sharpie
I just love this shirt. I think it came out fantastic. The smushed letters from the bleach may have been a happy accident. I love the way this shirt looks, and it doesn't have any of the stiffness of the other two shirts from the paint. I would definitely do this again.
Spray Paint
This shirt looks and feels better each time I wash it. With how disappointed I was with its initial turn out, I think this shirt ended up just fine. I'm liking it more and more. However, I don't think I'll ever attempt to spray paint a shirt again. If spray paint was all I had, sure. But why bother if I already have acrylic or fabric paint? I just think the second option is easier (it requires less set up, you can do it indoors, and it's a lot less smelly to heat set).
Acrylic Paint
When conceptualizing, I thought this was going to be my least favorite shirt - something that just came out okay. But I really like it. It looks great, it was fun and easy to paint, and I didn't have any hassles with it like the other two shirts.
Resources
If you are interested in the designs I used, you can find them
here (files named after shirt color) in PDF (for exact size) and Word Doc (if you want to change the sizing and font). You can also find some Bernie stencils
here and the mega graphics Bernie thread
here. Or Google "Bernie Sanders T-shirt" and see what
designs catch your attention.